Jupyter Quick Start
The purpose of this page is to help students get up and running with Jupyter, a technology which will be used extensively throughout the course.
Jupyter Notebook
Jupyter Notebook is an open source web application which facilitates authoring of interactive python notebooks (.ipynb files), a single document that combines live code, visualizations, narrative text, mathematical equations, and other rich media.
Starting the Server
To start the Jupyter Notebook Server, open Command Prompt (cmd) and enter the command: jupyter notebook
Note that you will only have access to the files and subfolders within Jupyter’s working directory. For example, if the following commands are entered in cmd
> cd C:\Users\[YOUR NDID]\Documents\GitHub\radioware\labs
> jupyter notebook
Then you will only be able to see and edit files under the labs folder.
To change the working directory, you can use the cd command to change directory into the directory you would like to start Jupyter with.
An easier way to change your working directory is to use File Explorer. Navigate to the directory you’d like to start Jupyter from and type cmd in the address bar. This will open a command prompt with the working directory set to the one from File Explorer. From there you can start the Jupyter server with jupyter notebook.
Creating Notebooks
We can create a sample notebook with the following steps:
Navigate to the folder in which you would like to create the new Jupyter notebook.
Click “New” in the top right corner and select “Python 3” notebook.
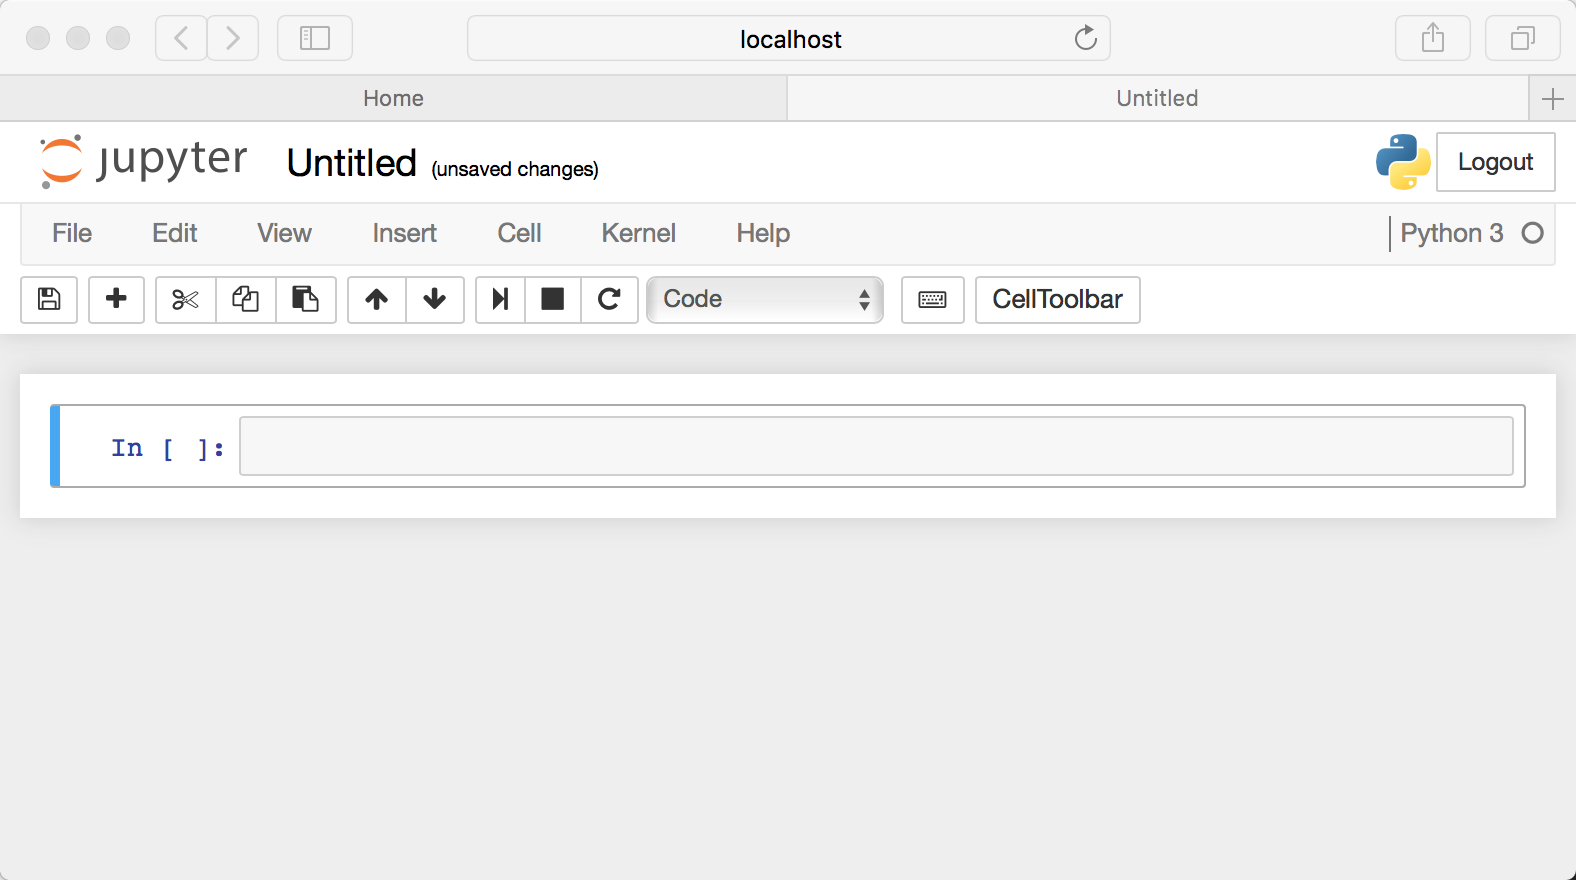
A new browser tab will pop up with the name “Untitled” (see screenshot), click “Untitled” to rename the notebook.

The box with
In [ ]in it is the basic unit of Jupyter Notebook, called a cell. We can add some content to this cell. Enter the following code in the cell and then click the save icon:print("Hello World!")Run the cell by selecting the cell and then clicking the “Run” icon. The message “Hello World!” will be displayed below the cell.
Insert a new cell by navigating to
Insert > Insert Cell Belowusing the top menu.Delete a cell by selecting the cell and navigating to
Edit > Delete Cells.
Saving and Closing Notebooks
- Save the notebook by clicking the save icon in the top left corner.
- Close the notebook by closing the browser tab.
Shutting Down Kernels
There are two methods to shut down the kernel after running a notebook:
When closing the notebook, navigate to
File > Close and Halt. This will both close the notebook and shutdown any associated kernels.From the Jupyter File Explorer, navigate to the directory/folder where the notebook is located, click the checkbox to the left of the file name, and then click “Shutdown”. Verify that all kernels have been properly shutdown by going to the tab “Running” and making sure there are no running Jupyter processes.
Quitting the Jupyter Notebook Server
After properly saving, closing, and shutting down the kernels, quit the Jupyter Notebook Server by closing the web browser and either pressing ctrl+break or closing the command window to kill the jupyter process.
References
- Jupyter Notebook for Beginners: A Tutorial
https://www.dataquest.io/blog/jupyter-notebook-tutorial/ - Jupyter Notebook: An Introduction:
https://realpython.com/jupyter-notebook-introduction/

